Use android-sdk from Homebrew with Android Studio
I recently got a great idea for a mobile app. As I’ve used react and java in the past, but not objective-c and swift, I saw an opportunity to try React Native.
On the Getting Started-guide there’re instructions for installing and configuring Android Studio. While this is pretty easy to do, I got a problem. I currently have an android phone (OnePlus 3) and I’ve already installed android-sdk through Homebrew. The “problem” is that I don’t want to download all the tools etc. more than once. And if there’re updates, I’d like that I need to do the update only once.
Set SDK path
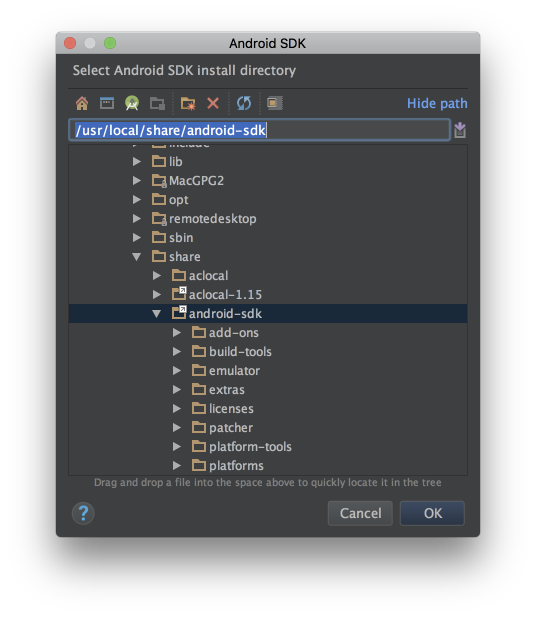
The solution is really simple, all you need to do, is to set the path in the Android Studio to point to the path where brew installed android-sdk (/usr/local/share/android-sdk on my machine).
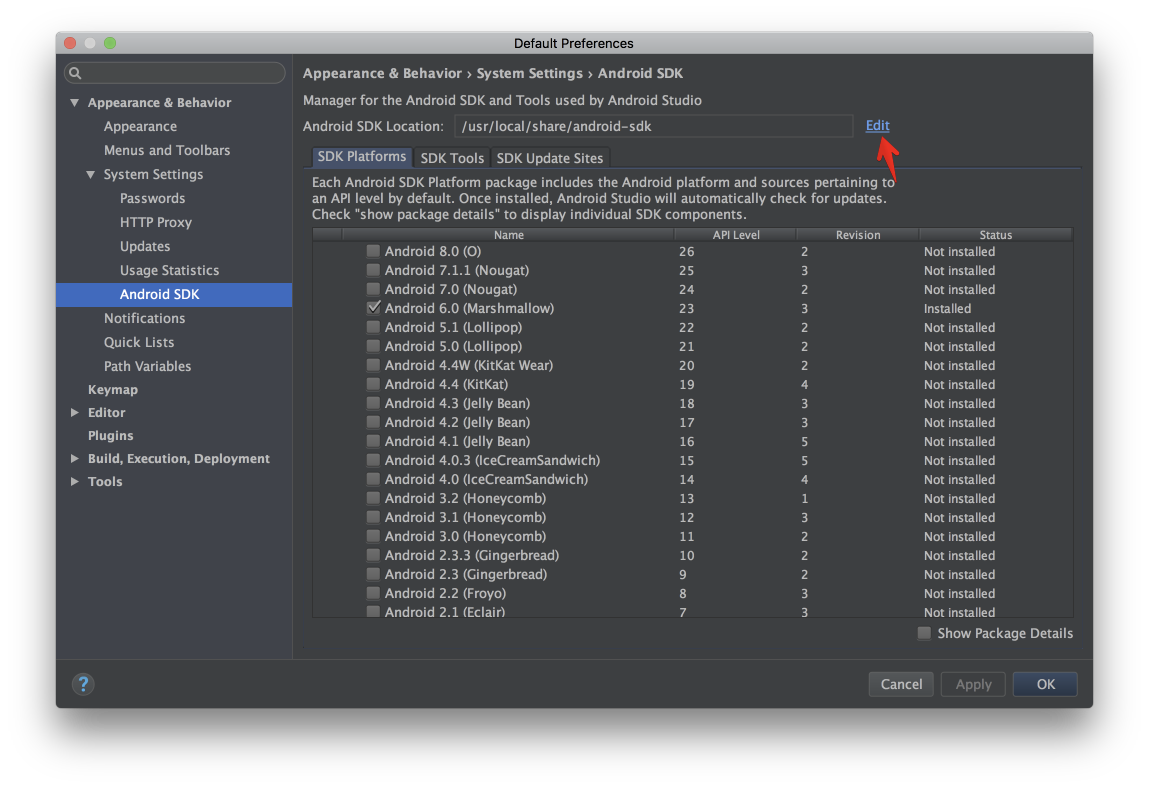
- Open preferences and select Appearance & Behavior -> System Settings -> Android SDK
- Edit SDK path
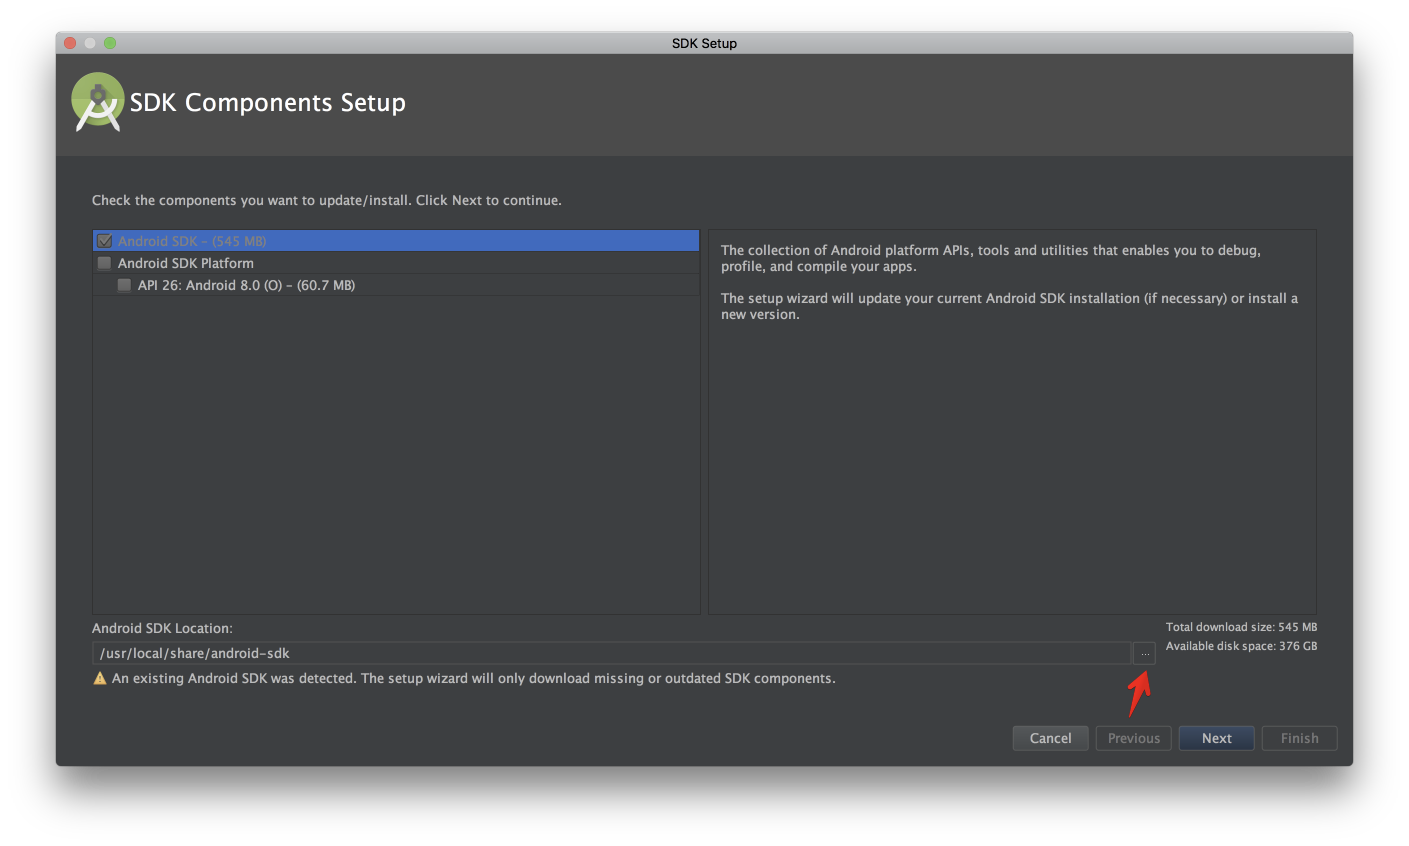
- Choose location
- Copy paste the path
- Click OK, Next, Next, wait for possible installations and then finally Finish and you’re set!
Install packages from CLI
You can of course use Android Studio to install all the packages, but in case you want to do it from CLI (e.g. in setup script or something), you can use sdkmanager. Here’s the command for installing packages stated in the Getting Started-guide:
sdkmanager "add-ons;addon-google_apis-google-23" "platforms;android-23" "system-images;android-23;google_apis;x86_64" "system-images;android-23;default;x86_64" "platforms;android-23" "sources;android-23"
If you get following error (as I did, not sure why, perhaps the docs are a bit outdated or something).
* What went wrong:
A problem occurred configuring project ':app'.
> The SDK Build Tools revision (23.0.1) is too low for project ':app'. Minimum required is 25.0.0
Just install needed build tools revision.
sdkmanager "build-tools;25.0.0"
Now the hardest part starts, the actual development. We’ll see if I ever get the app done, hopefully so.