Cyberdeck part 2: The screen
Check out the other posts about the build:
-
Part 2: the screen
or the new Cyberdeck-page to make following easier.
Continuing my cyberdeck build, I decided to mount the screen first as first part. Mainly because it’s the largest part after the case and I’m afraid to break it before attaching it.
At first, I modeled brackets to top and bottom.
They seemed to work well enough in first attempt.

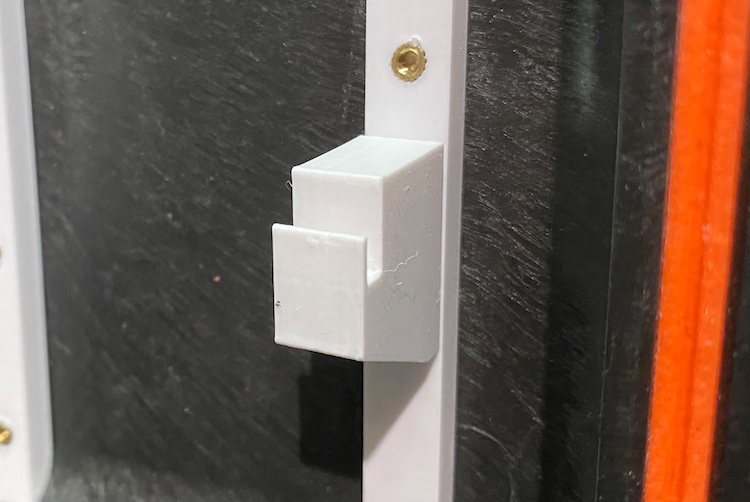
However, at this point I realized that I will need some side brackets to prevent screen moving sideways.

I designed and printed brackets, but I made a mistake. I forgot that my design is not 100% accurate compared to the actual build. The rails I glued on the lid (and the bottom) are not in exact places where I designed them. Luckily, the left bracket was actually a perfect fit for the right side, so I only needed to adjust one bracket.
The screen’s driver board had a control board which I wanted to use. A mount for it was relatively easy and quick to design and print.
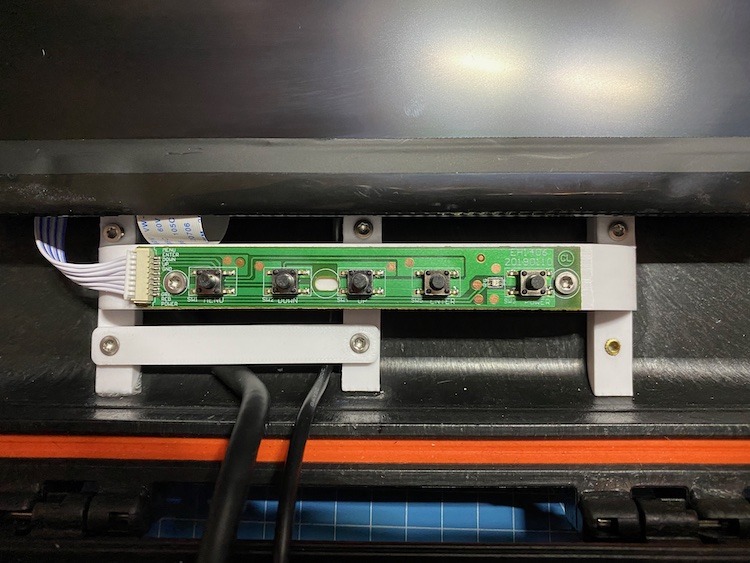
And this is how I mounted the driver board.
Speakers
While testing the screen that it is working and control board is easy to access, I realized something. I’m missing sound! So a quick check to stores nearby and managed to find small stereo speakers for a bit less than 6 euros.
Speakers’ own cases were too big for my use so I had to dissassemble them
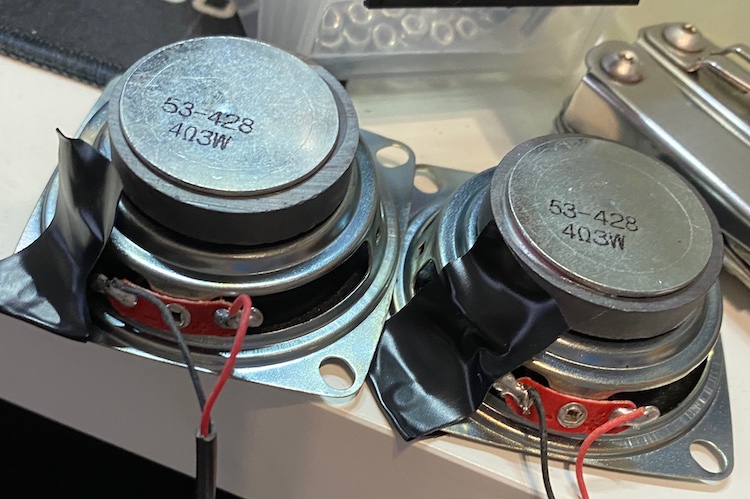 Speakers without their case.
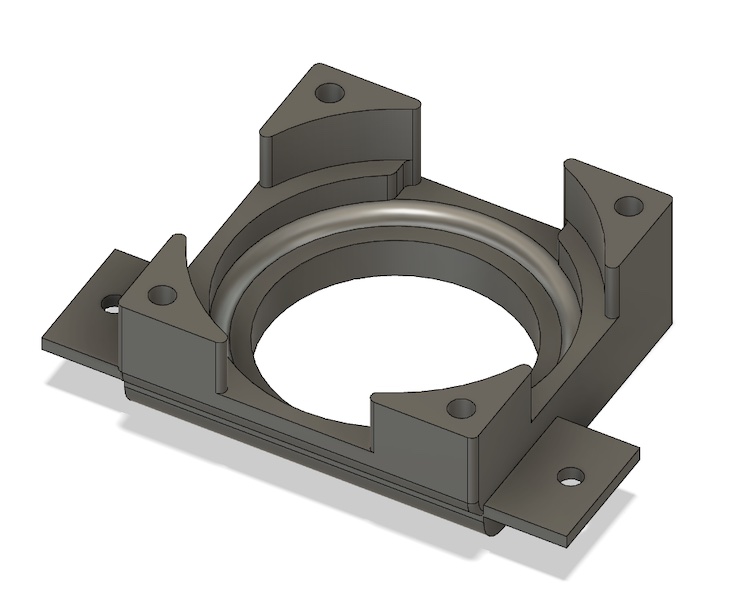
To attach them, mounts were needed. It took me couple of tries and test prints, but this is what I was happy with:
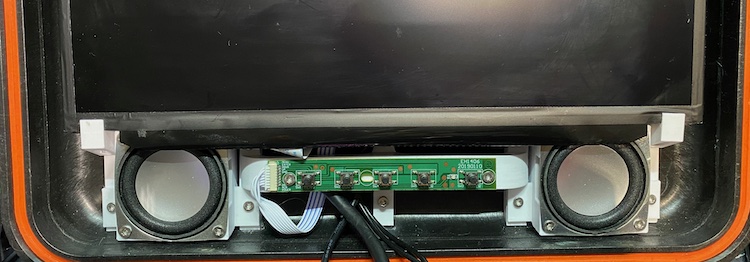
And then it was time to mount the speaker
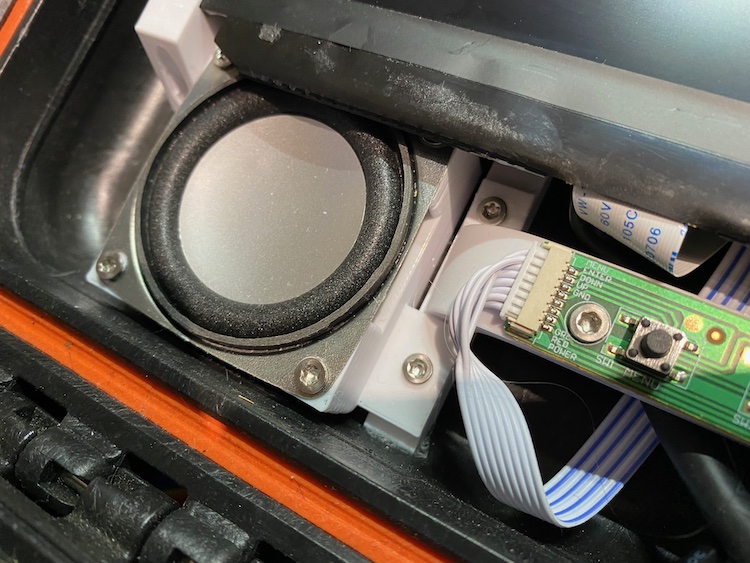
As you can see from the image above, there is not too much of space, but do we really need that? I’d say no!
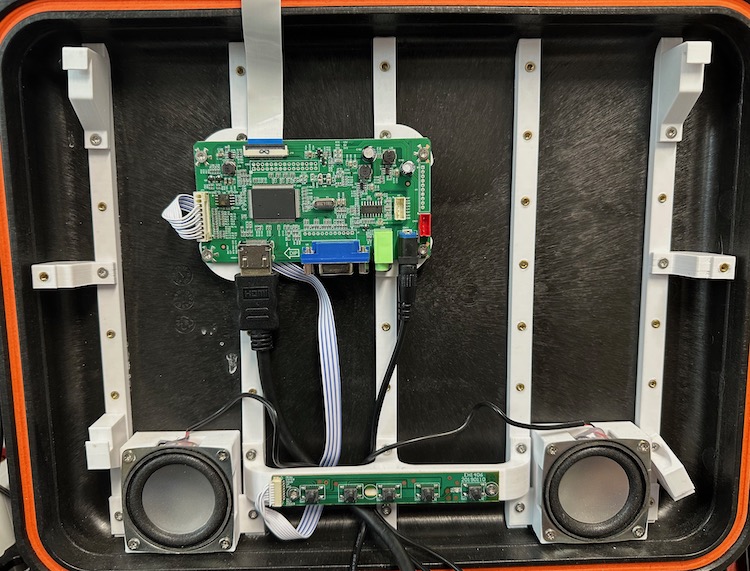
And here is the final result of mounted speakers and control board: